
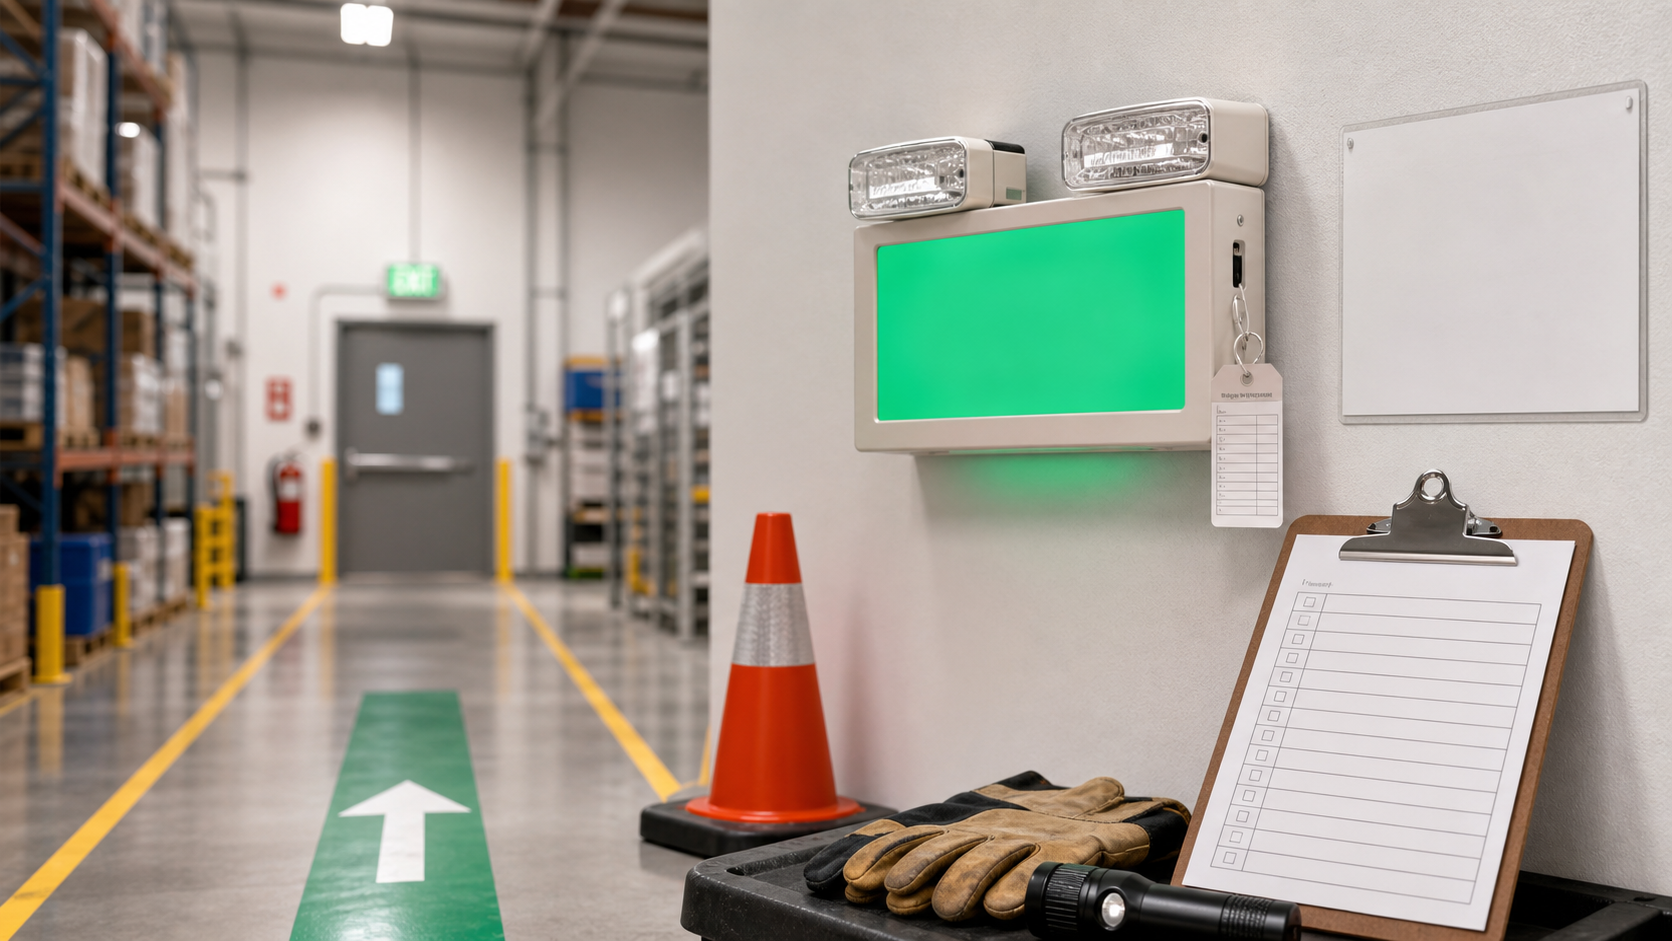
Quick Answer
An exit route inspection checklist should verify that emergency exits are unlocked and usable, exit access routes are clear, doors swing and operate properly, signs are visible, lighting works, and storage does not narrow or block the path. OSHA requires exit routes to be permanent, separated where required, adequately sized, arranged so employees can evacuate, and maintained so they remain free and unobstructed.
For facility teams, the practical version is simple: keep the path visible, keep the door usable, and keep anything temporary from becoming a permanent blockage.
Exit Route Inspection Checklist
| Area | What to Check | Useful Supplies |
|---|---|---|
| Exit access | Walk the route and confirm aisles, corridors, stairs, ramps, and doorways are clear of pallets, carts, trash, cords, and stored materials. | Floor marking tape, cones, aisle signs |
| Exit doors | Confirm doors are not locked, chained, blocked, disguised, or difficult to open from the direction of travel. | Inspection tags, door labels, warning signs |
| Exit signs | Make sure exit signs and directional signs are visible, correctly placed, illuminated where required, and not hidden by racking or temporary displays. | Exit signs, directional arrows, wall signs |
| Emergency lighting | Check emergency lights, battery backups, and test tags so employees can see the route during power loss. | Inspection tags, flashlights, maintenance labels |
| Route width | Confirm temporary storage does not narrow the route below the required capacity for employees using it. | Floor tape, bollards, do-not-block signs |
| Housekeeping | Remove trip hazards, spills, damaged mats, loose packaging, and objects that could slow evacuation. | Spill supplies, housekeeping signs, barriers |
Common Mistakes to Avoid
- Letting a short-term pallet staging area creep into an exit access route.
- Using cones to mark a blockage instead of removing the blockage.
- Leaving an exit sign visible from one direction but hidden from another.
- Failing to retest emergency lighting after maintenance, power changes, or battery replacement.
- Allowing seasonal displays or temporary inventory to cover signs and arrows.
FAQ
What is the difference between an exit route and an exit door?
An exit route includes the continuous path employees use to evacuate: exit access, the exit itself, and exit discharge. The exit door is only one part of that route.
Can storage be placed in an exit route if there is still room to walk?
Exit routes must be kept free and unobstructed. Storage that narrows, hides, blocks, or confuses the route should be removed rather than treated as acceptable.
What supplies help keep exit routes inspection-ready?
Common supplies include exit signs, directional arrows, floor marking tape, do-not-block labels, cones, emergency light inspection tags, flashlights, and checklist forms.
About Mick Chan
Mick Chan is part of the eSafetySupplies safety content team, helping translate workplace safety requirements into practical checklists that purchasing teams, supervisors, and crews can use when selecting PPE, signs, labels, tags, and facility safety supplies.
Final CTA
Keep evacuation paths visible and usable with exit signs, directional arrows, floor marking tape, do-not-block labels, emergency light tags, cones, and facility inspection checklists. eSafetySupplies can help standardize the supplies that keep exit routes clear across your workplace.
Sources
- OSHA 29 CFR 1910.36, Design and construction requirements for exit routes: https://www.osha.gov/laws-regs/regulations/standardnumber/1910/1910.36
- OSHA 29 CFR 1910.37, Maintenance, safeguards, and operational features for exit routes: https://www.osha.gov/laws-regs/regulations/standardnumber/1910/1910.37